
how to replace a bike brake cable is usually a straightforward job, but it feels stressful because braking is one place where “close enough” can turn into sketchy, fast.
If your lever suddenly pulls to the bar, braking feels mushy, or you see frayed strands near the lever or caliper, a fresh cable and housing often brings the bike back to crisp control without touching anything complicated.
This guide focuses on common U.S. setups: flat-bar bikes with linear-pull or mechanical disc brakes, and drop-bar bikes with road calipers or mechanical discs. I’ll also flag the moments where you should slow down, like housing length, ferrules, and pinch-bolt clamping.
What usually goes wrong (and how to tell)
Most brake-cable problems are not dramatic failures, they’re small issues that stack up: contamination in housing, a kink near a stop, or strands starting to unravel.
- Lever pulls too far: cable stretch, loose anchor bolt, or housing not seated in a stop.
- Brake feels gritty or slow to return: corroded cable, crushed housing, tight bend, or dirty liner.
- Visible fraying at the lever or caliper: replacement time, trimming strands rarely holds.
- Uneven braking after adjustment: sometimes it’s pad wear or caliper alignment, not the cable.
According to the National Highway Traffic Safety Administration (NHTSA), proper braking performance is a critical safety factor for road users. On a bike that means if you’re unsure your brakes are trustworthy, it’s smart to pause and get help rather than “test it on the next ride.”
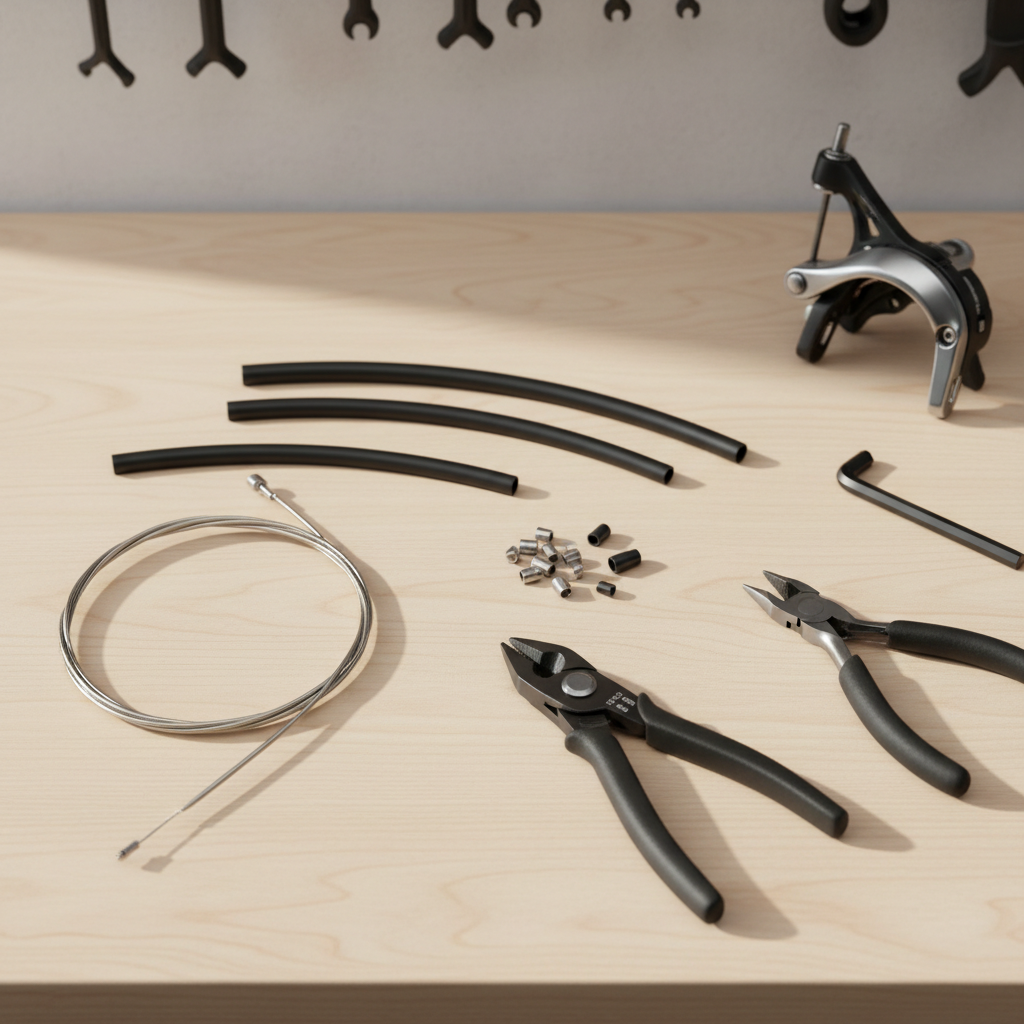
Parts and tools you’ll want on hand
You can replace just the inner cable, but in many cases the housing causes more drag than the cable itself, so a full refresh is often worth the extra 10 minutes.
Quick checklist
- Brake inner cable: road vs. MTB cable heads differ, match your lever type.
- Brake housing (not shift housing): brake housing is compressionless in some systems, standard spiral-wound in others.
- Ferrules: little end caps that sit on housing ends, reuse only if they fit snug and aren’t cracked.
- Cable end cap: crimp-on tip to prevent fraying after cutting.
- Cable cutters (real ones), 4/5 mm hex keys, light grease, rag.
Before you start: a fast self-check
This takes two minutes and prevents the classic mistake: replacing a cable when the real issue is elsewhere.
- Squeeze the lever and watch the caliper: does the arm move smoothly, or does it “stick”?
- Check housing ends at every stop: is each end fully seated, with ferrule intact?
- Look at pads: if they’re near worn out, cable work alone may not restore feel.
- Spin the wheel and check rub: constant rub might be alignment, not cable tension.
If you have hydraulic brakes, stop here, those don’t use a standard cable in the same way. Many e-bikes and newer mountain bikes run hydraulic systems, and the fix is different.
Step-by-step: how to replace a bike brake cable
If you want the short version: release tension, remove old cable, replace housing if needed, thread new cable, set tension, then do careful safety checks. The details matter because small routing errors add friction fast.
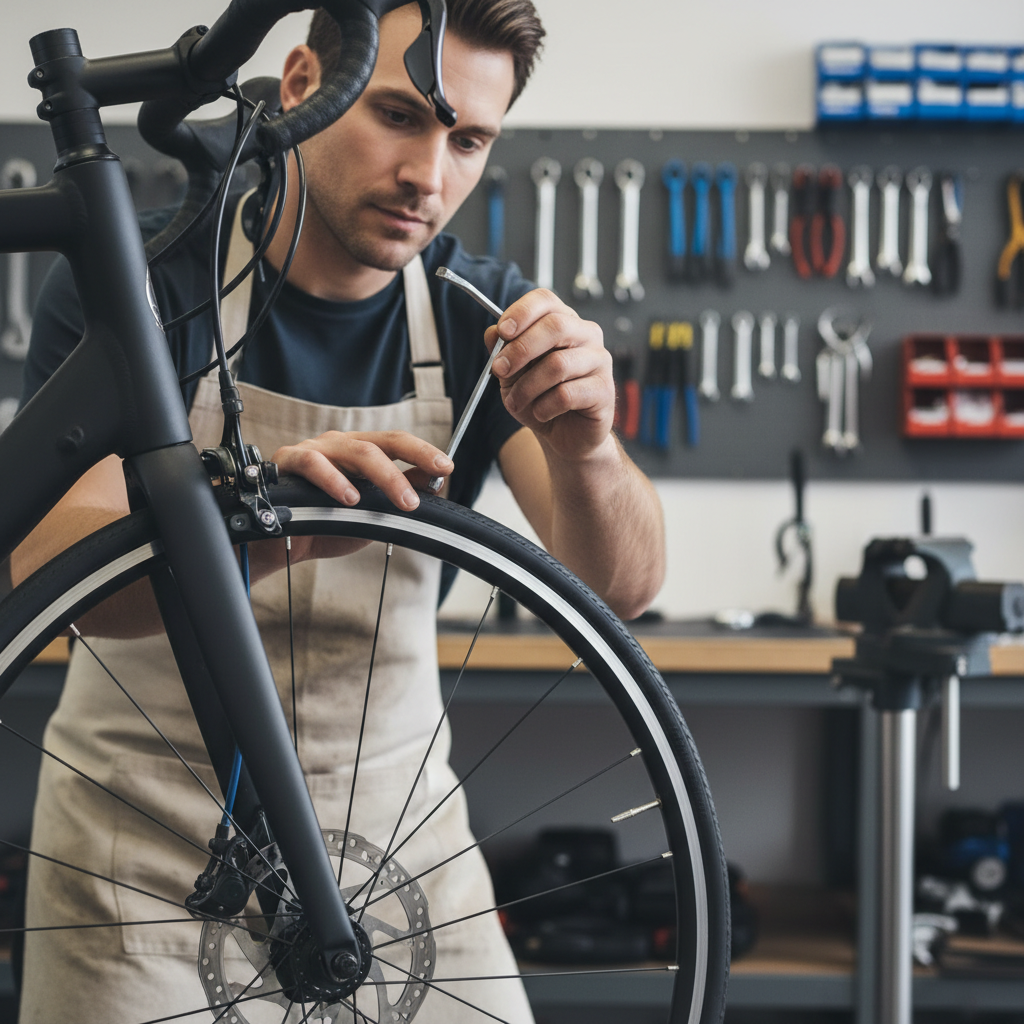
1) Shift the brake to its “open” state
Open the quick release if your brake has one (many rim brakes do). For mechanical disc brakes, you typically just back off the barrel adjuster a few turns to give yourself slack.
- Turn the barrel adjuster clockwise to reduce tension, count turns if you want to return close to the old setting.
- If there’s a lock ring, loosen it first so the adjuster can spin freely.
2) Release the cable at the caliper
Find the pinch bolt where the cable clamps, hold the brake arm in a relaxed position, then loosen the bolt. Pull the cable free and keep an eye on any small washers or cable guides.
- Tip: take a quick photo of the clamp stack before disassembly, especially on mechanical discs.
3) Remove the old cable from the lever
On most levers you’ll peel back the rubber hood or rotate a cover to reveal the cable head. Pull the cable out gently, if it resists, it may be frayed inside the lever path, and forcing it can make a mess.
If strands are splayed, snip the end clean first, then back it out slowly.
4) Decide: reuse housing or replace it
Here’s the honest take: if the housing is older, kinked, or you feel grinding when sliding the cable, replacing it usually saves you from doing this twice.
| Situation | Reuse housing? | Why |
|---|---|---|
| Housing looks clean, no tight bends, bike stored indoors | Maybe | Low contamination, friction often acceptable |
| Bike stored outside, wet commutes, gritty feel at lever | Usually no | Water and grit commonly sit inside the liner |
| Visible cracks, flattened section, sharp kink near head tube | No | Crushed housing increases drag and reduces braking response |
| New pads and caliper feel good by hand, but lever still mushy | Lean no | Housing compression can mimic “stretch” |
5) Cut and fit new housing (if replacing)
Match the old lengths as a starting point, but don’t blindly copy a bad setup. Housing should allow smooth steering without tugging, with no extreme loops.
- Cut with proper cable cutters so the end stays round.
- Open the liner with an awl or pick if it gets pinched during cutting.
- Install ferrules on each end, and confirm each housing end seats fully in its stop.
A tiny dab of light grease on cable ends can help in wet climates, but avoid packing grease into modern lined housing unless the housing maker recommends it, too much can collect grit.
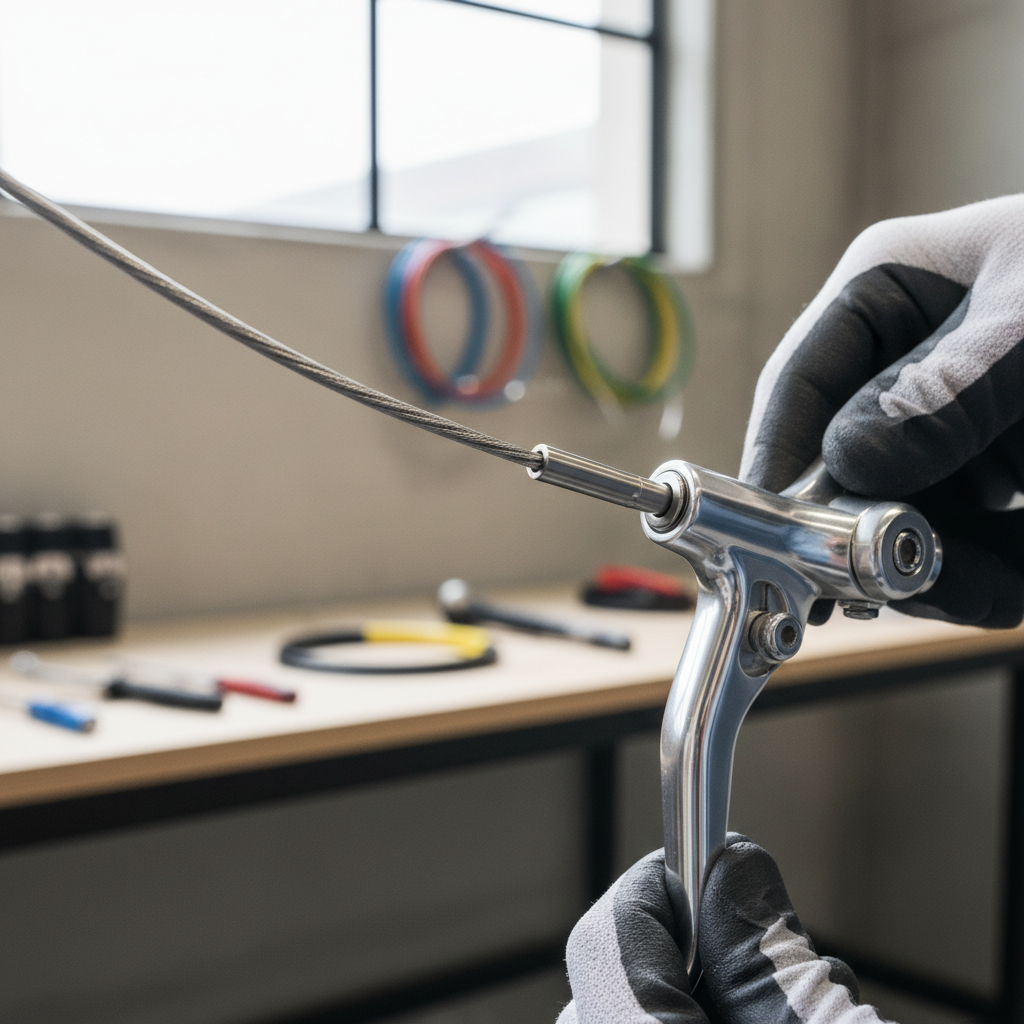
6) Thread the new inner cable
Seat the cable head fully in the lever, then push the cable through each housing segment and stop. If it catches, don’t force it, pull back, straighten housing, and try again.
- Key point: confirm the cable runs the same route as before, especially around the bar tape or under the bottom bracket.
7) Clamp the cable and set baseline tension
With the cable at the caliper, pull it snug by hand, then clamp under the pinch bolt. You’re aiming for “snug,” not “as tight as humanly possible.” Final feel comes from barrel adjustment and pad position.
- Set barrel adjusters near the middle of their range so you have room to fine-tune later.
- Center rim brake arms if needed, mechanical discs may need caliper alignment per brand.
8) Fine-tune and finish the cable end
Squeeze the lever a few times to seat housing ends, then re-check tension. Use the barrel adjuster to bring the lever travel where you like it.
- Cut the cable, leaving a small tail, usually 1.5–2 inches is practical.
- Crimp an end cap so it doesn’t fray.
- Re-close any quick release on rim brakes, then confirm pad clearance.
Key points that keep braking safe
- Housing must be fully seated at every stop, a half-seated ferrule creates “mystery slack.”
- No sharp bends, especially near the handlebar where steering movement adds stress.
- Correct cable type: road and MTB cable heads are different, forcing one can damage the lever.
- Pinch bolt clamp should grip clean cable, if it clamps on frayed strands, it can slip.
According to Park Tool, a widely used bicycle repair reference in U.S. shops, smooth cable routing and properly cut housing ends are major factors in brake feel and reliability.
Common mistakes that waste time
People often blame “cable stretch,” but real stretch is usually minor after initial seating. The bigger culprits are setup details.
- Using shift housing for brakes: it can fail under braking loads, use proper brake housing.
- Over-tightening at the caliper: makes adjustment harder and can pull pads too close, leading to rub.
- Cutting housing with dull tools: crushed ends add friction, and you’ll feel it at the lever.
- Forgetting to reset barrel adjusters: you lose adjustment range and chase the feel forever.
When to get a bike shop involved
If you’re replacing a cable because the lever suddenly went to the bar, and a new cable doesn’t fix it, something else may be happening: worn pads, a bent rotor, a sticky caliper, or a damaged lever body. That’s the moment to slow down.
- Mechanical disc brakes with persistent rubbing after adjustment
- Any sign of cracked lever, damaged caliper, or stripped pinch bolt threads
- You’re unsure whether your system is cable-actuated or hydraulic
For safety, do a cautious roll test in a flat area before normal riding, and if braking still feels unpredictable, a professional inspection is the sensible move.
Conclusion: a smoother lever and more confidence
Once you know how to replace a bike brake cable, most of the job is calm, repeatable setup work: clean cuts, correct routing, and patient tension tuning. The payoff is immediate, lever feel returns, and you stop thinking about your brakes every time traffic tightens up.
If you’re doing this today, pick one action that improves reliability fast: replace questionable housing, and double-check every seated ferrule before you touch the barrel adjuster.
If you want, tell me your bike type and brake type (rim vs mechanical disc, road vs flat bar), and I can suggest the right cable head and a routing checklist for your setup.