
how to fix a flat bike tire at home comes down to two things, finding what caused the flat and sealing or replacing what can’t hold air anymore, and you can usually do both with a small kit and a little patience.
If you ride often, a flat isn’t a “maybe” problem, it’s a “when” problem, and knowing a reliable process saves you from rushed choices like damaging your rim, pinching a new tube, or missing the tiny piece of glass that immediately ruins your repair.
This guide walks you through the practical steps people actually use in a garage, driveway, or apartment hallway, plus a quick decision table for patch vs. replace, and a few habits that reduce repeat flats without turning bike maintenance into a hobby.
What usually causes a flat, and why it matters before you start
Before you pull the wheel off, it helps to know what you’re hunting for, because the cause often dictates whether a simple patch holds or you’ll be chasing the same leak again tomorrow.
- Road debris puncture: glass, wire, thorns, staples, tiny metal shards. These often leave a small, clean hole.
- Pinch flat: hitting a pothole or curb with low pressure, the tube gets “bitten” between rim and tire, often two small holes close together.
- Valve issues: a loose valve core, torn valve base, or damaged valve stem. Common after rough installs or aggressive pumping.
- Tire or rim problems: worn tread, sidewall cuts, cracked rim tape, sharp spoke holes. If you skip this check, any new tube is at risk.
According to the National Highway Traffic Safety Administration (NHTSA), proper tire maintenance is a key part of vehicle safety, and while bikes aren’t cars, the principle holds: inflation and inspection reduce preventable failures on the road.
Quick checklist: do you need a patch, a new tube, or a shop visit?
When people ask how to fix a flat bike tire at home, they often mean “what’s the fastest option that won’t strand me again,” so use this quick table to choose a realistic path.
| What you find | Likely fix at home | Notes |
|---|---|---|
| Single small puncture in tube | Patch or replace tube | Patching works well if the tube is otherwise healthy |
| Two small holes (“snake bite”) | Replace tube (often) + increase pressure | You can patch, but pinch flats sometimes hint at low PSI habits |
| Cut tire sidewall, cords showing | Replace tire, likely replace tube too | Sidewall damage can be unsafe, consider a bike shop if unsure |
| Valve stem torn or valve core won’t seal | Replace tube or valve core | Presta cores can be replaceable, some Schrader issues aren’t |
| Rim tape shifted or cracking | Replace rim tape | Skipping this leads to mysterious repeat flats |
Key point: if the tire itself is compromised, a perfect tube install still fails. Fix the root cause, not just the symptom.
Step-by-step: fix a flat bike tire at home (tube setup)
Most bikes on the road use an inner tube. The steps below assume that setup, and they work for both Presta and Schrader valves with minor differences at the pump head.
1) Get set up and shift to make wheel removal easier
- Find a stable spot, flip the bike upside down if you don’t have a stand.
- If it’s a rear flat, shift to the smallest rear cog before removing the wheel, it makes reinstall smoother.
- Release the brake if needed, many rim brakes have a quick-release.
2) Remove the wheel
- Quick release: open the lever, loosen the nut a few turns, lift the wheel out.
- Thru-axle: unscrew the axle and slide it out, keep track of any springs or spacers if your bike uses them.
- Nutted axle: use the right wrench size, loosen both sides evenly.
If anything feels stuck, stop and look for what’s holding it, forcing a wheel out is how skewers get bent and derailleur hangers get stressed.
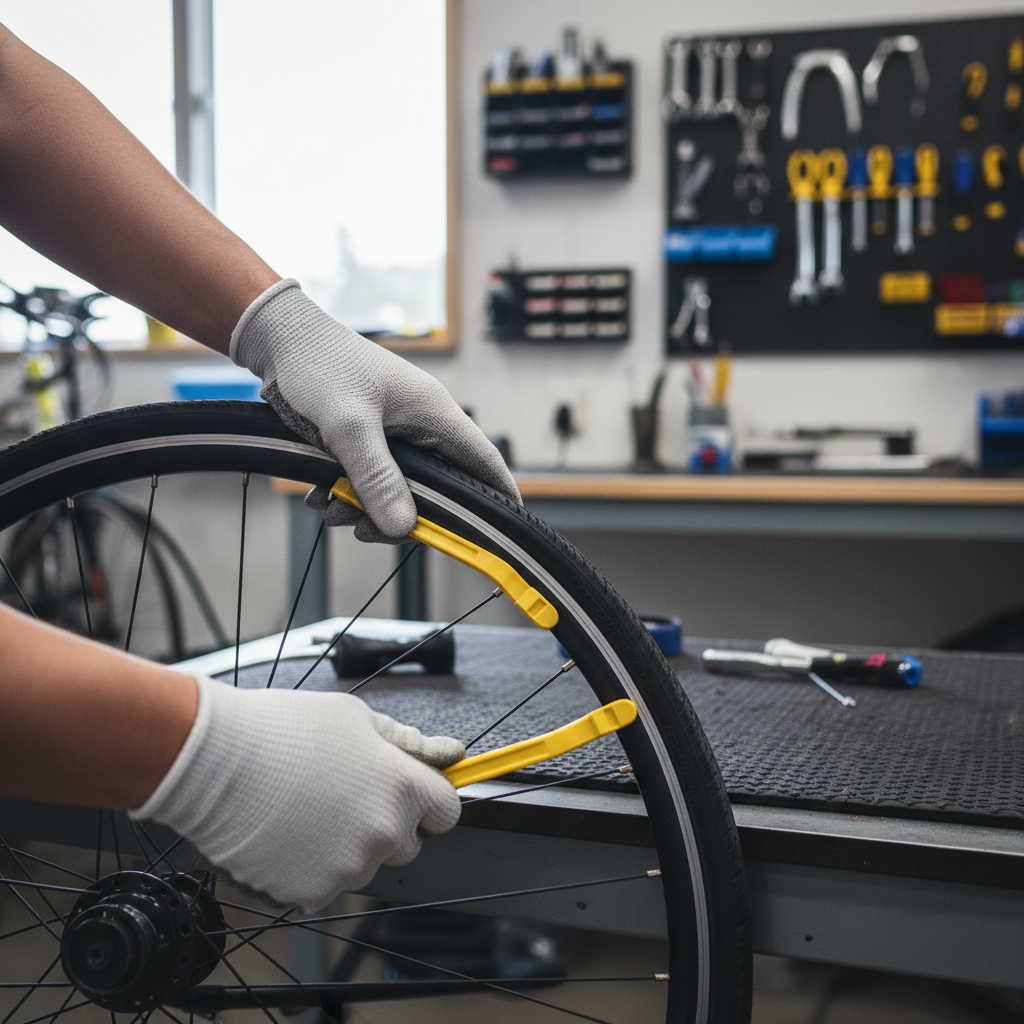
3) Unseat one side of the tire and pull out the tube
- Let all remaining air out, even if it seems fully flat.
- Push the tire bead into the center channel of the rim, this creates slack.
- Use tire levers if needed, but start with your thumbs to avoid rim scratches.
- Pull the tube out, then remove the valve from the rim hole.
4) Find the puncture and the cause (don’t skip this)
- Inflate the tube slightly and listen for hissing, or feel for air on your cheek.
- If you can’t find it, wipe the tube with a damp cloth and look for bubbles, a sink or bucket works too.
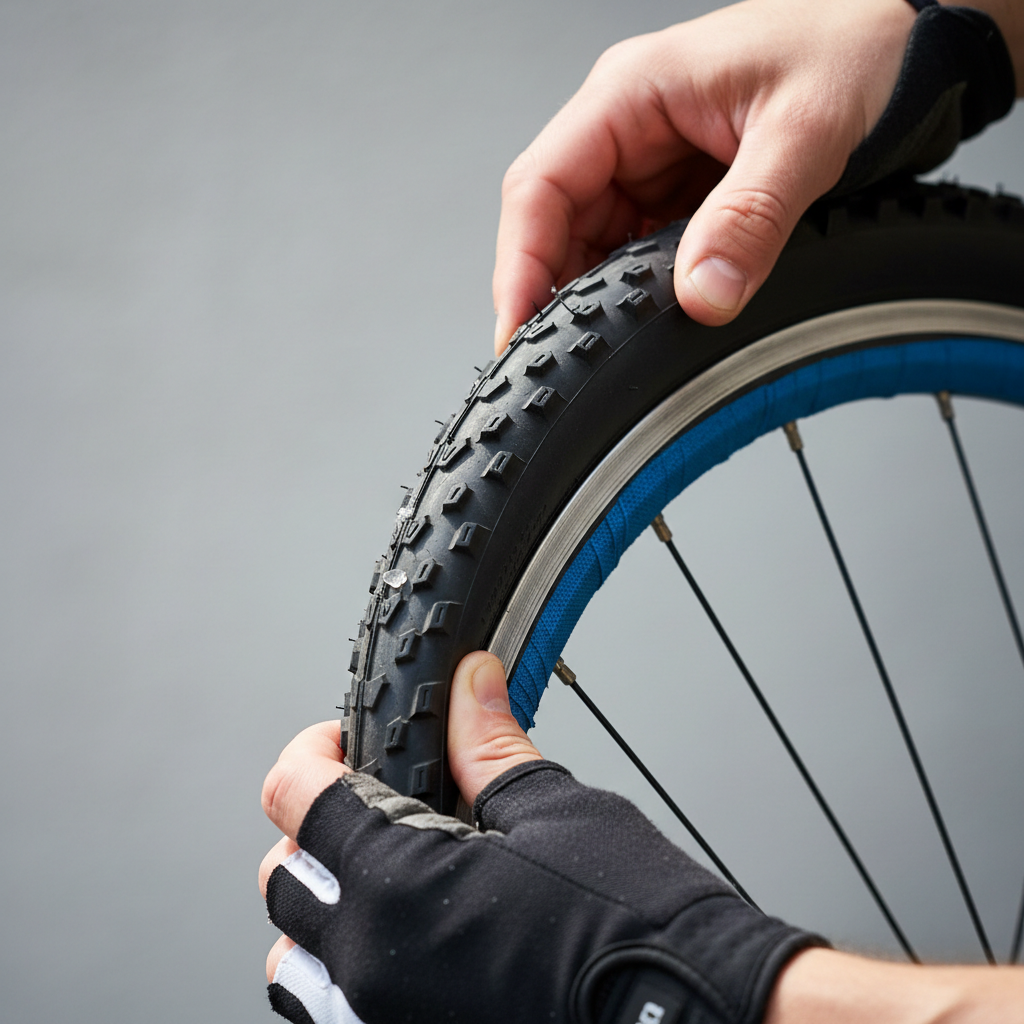
- Inspect the tire inside and out for debris, run your fingers carefully along the inside casing.
Safety note: if you suspect glass or metal, move slowly and consider gloves, small shards can cut skin fast.
A useful trick is to line up the tube valve with the tire logo, then if you find a hole in the tube you can “map” it to the tire and pinpoint where the object entered.
5) Patch the tube or replace it
Replacing the tube is usually quicker and more consistent for beginners, and many riders still patch later at home to rebuild their spare supply.
- Patch basics: roughen the area, apply vulcanizing fluid if your kit uses it, wait until tacky, press patch firmly, hold for a full minute, then let it set.
- Patch placement: avoid seams and keep the patch centered over the hole.
- When patching disappoints: a dirty tube, not enough scuffing, or not waiting for glue to tack up.
If you’re unsure whether a patch will hold, swapping in a new tube now is often the better “get back riding” move.
6) Check rim tape and the rim cavity
- Look for shifted tape exposing spoke holes.
- Feel for sharp edges at the valve hole or spoke bed.
- If tape looks cracked or thin, replace it, it’s inexpensive and saves repeat flats.
7) Reinstall tube and tire without pinching
- Put a small amount of air in the tube so it holds shape.
- Insert the valve through the rim hole, then tuck the tube into the tire all the way around.
- Seat the tire bead by hand, finishing at the valve area last.
- Avoid tire levers for the final section if you can, that’s where pinches happen.
Before inflating fully, go around both sides and check that no tube peeks out under the bead, this one check prevents a lot of “instant flats.”
8) Inflate to a sensible pressure and reinstall the wheel
- Inflate gradually, watching the bead line to ensure even seating.
- Set pressure within the tire’s printed range, then adjust based on rider weight, terrain, and comfort.
- Reinstall the wheel, secure the skewer or axle, reconnect brakes, and spin the wheel to confirm no rub.
According to the International Organization for Standardization (ISO), tire and rim dimensions follow defined standards, but real-world fit varies by brand, so seating checks matter even when parts are “compatible.”
Common mistakes that make flats come back fast
Most repeat flats aren’t bad luck, they’re small oversights that feel harmless in the moment, especially when you’re trying to finish quickly.
- Not removing the object from the tire, the new tube gets punctured in the same spot.
- Using too low pressure for your weight and terrain, pinch flats show up again.
- Pinching the tube with tire levers during install.
- Ignoring rim tape, spoke holes and sharp edges cut tubes from the inside.
- Overinflating trying to “prevent flats,” which can stress the tube and reduce grip, especially on rough roads.
If you’re consistently dealing with punctures in one neighborhood or trail, a slightly tougher tire or a puncture-resistant liner can help, but it’s still worth fixing the basics first.
Practical tips to prevent the next flat (without overthinking it)
How to fix a flat bike tire at home is a great skill, but prevention saves more time than any perfect repair technique.
- Check pressure weekly, especially if you ride daily, slow leaks and temperature swings are normal.
- Scan the tread after rides through construction zones, glass often sits in place before it works through.
- Replace worn tires when tread is squared off or the casing shows, “one more week” often ends in a flat.
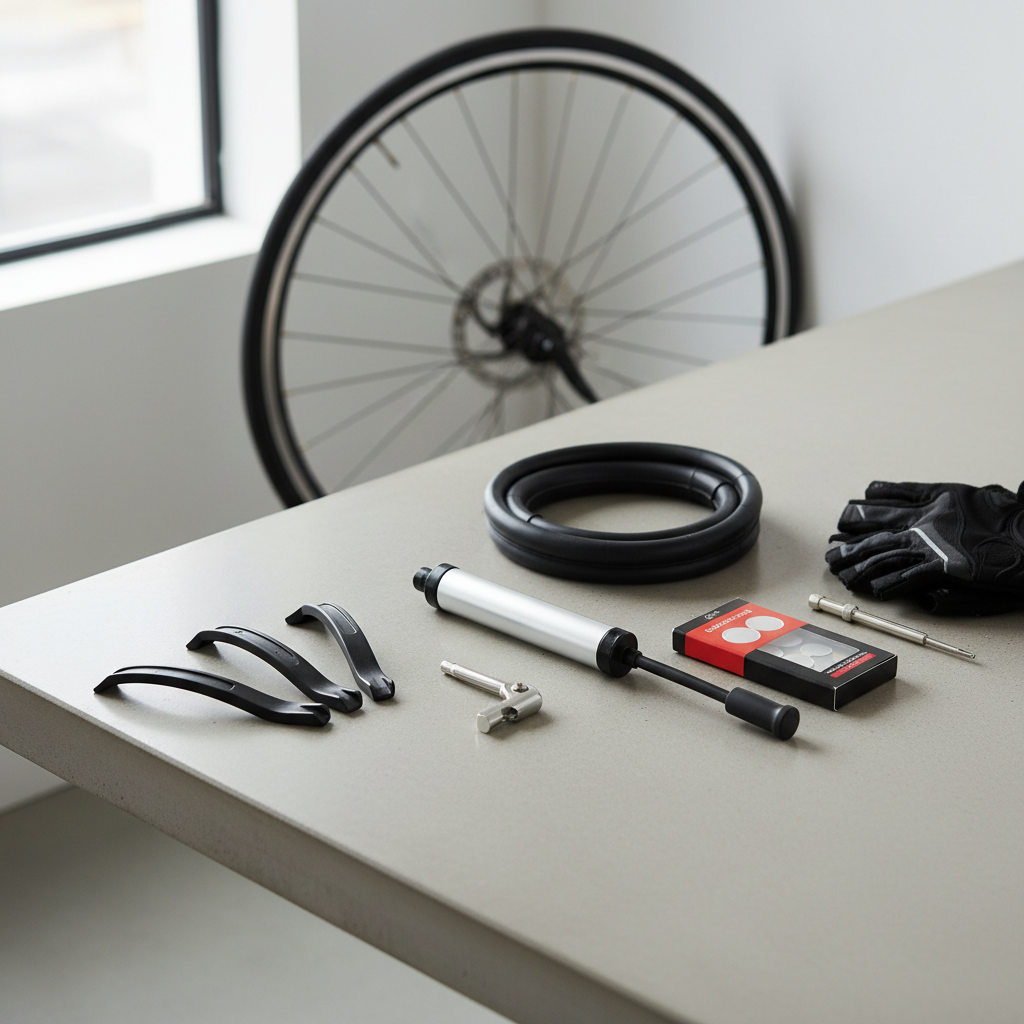
- Carry the right kit: a spare tube, tire levers, a mini pump or CO2, and a small patch kit as backup.
- Match pressure to reality: heavier riders and rough pavement usually need more PSI than a light rider on smooth roads.
If you use sealant tubes or tubeless setups, the prevention story changes a bit, but the habit of checking tires and pressure still pays off.
When it’s smarter to get professional help
Home repair is practical, but there are cases where a bike shop is the safer, less frustrating choice, especially if you’re seeing a pattern you can’t explain.
- Sidewall cuts or bulges, these can fail suddenly under load.
- Rim damage after a hard impact, dents and cracks can compromise tire seating.
- Recurring flats every ride even after careful inspection, a shop can check wheel tape, spoke tension, and tire fit.
- Unfamiliar systems like tubeless tape and sealant, it’s doable at home, but the learning curve can be steep.
If you’re not confident about a tire’s condition, riding on it can be risky, a quick inspection from a mechanic is often worth it.
Key takeaways and a simple next step
Fixing a flat is less about strength and more about sequence: confirm the cause, repair or replace the tube, then double-check tire and rim before you inflate. Do that, and most flats become a 15–30 minute interruption instead of a recurring headache.
If you want one next step, restock your kit after you finish: a fresh spare tube and a patch kit at home makes the next flat far less stressful.