
Best bike computer wireless gps searches usually come from the same frustration, you want clean GPS tracking, stable sensor pairing, and a screen you can read at speed, without turning setup into a weekend project.
This category also gets expensive fast, and a lot of “top” lists skip the boring but important details, like phone integration quirks, map quality, battery reality, or whether your power meter will actually connect.
Below is a practical way to choose, plus a comparison table and a short checklist so you can match a device to how you ride, road, gravel, commuting, or structured training.
What “wireless GPS bike computer” really means (and what matters)
Most modern units are “wireless” in two different ways, GPS for location, and short-range sensor connections for speed, cadence, heart rate, and power. The quality gap shows up in day-to-day use, not in the spec sheet.
- GPS chipset + multi-band support: Multi-band GNSS can improve accuracy in trees and dense cities, but it can reduce battery life on some models.
- Wireless sensor protocols: Look for ANT+ and Bluetooth if you mix brands, borrow indoor trainers, or switch between bikes.
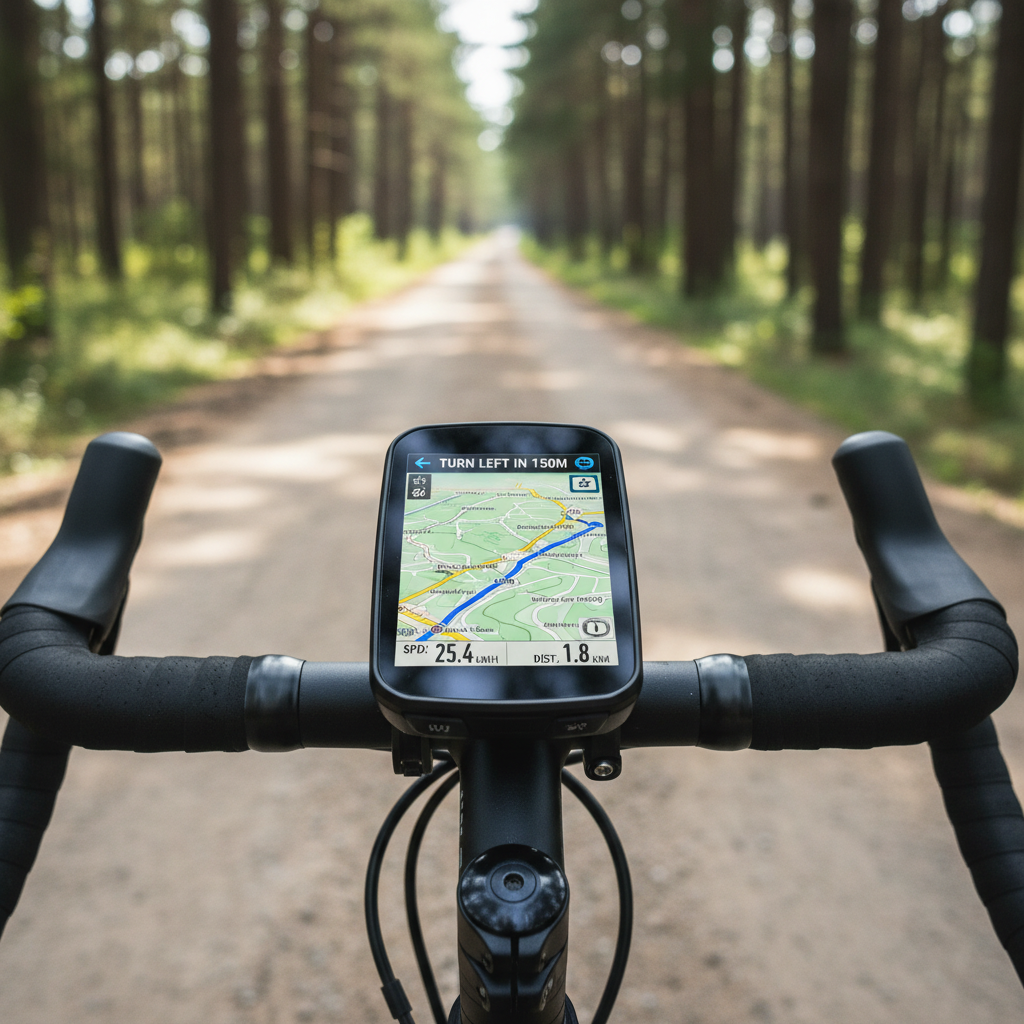
- Mapping and navigation: Turn-by-turn prompts are not the same as full offline maps, and some “breadcrumb” navigation feels limited on unfamiliar routes.
- Screen and controls: Touchscreen is convenient, but physical buttons often win in rain, winter gloves, and rough gravel.
- Ecosystem: Auto-sync to Strava, TrainingPeaks, Garmin Connect, Wahoo, etc, sounds simple, but it’s where many people get annoyed.
According to GPS.gov (U.S. government), GPS is a satellite-based positioning system; in real riding terms, that means your route line can drift when signals get blocked, so better reception and smarter filtering matter if you care about clean files.

Quick comparison table: choosing by priorities
Instead of pretending there is one “best” option, it’s more honest to pick based on your dominant priority. Here’s a condensed decision table you can use before you start comparing brands.
| Riding priority | What to prioritize | Typical sweet spot | Common trade-off |
|---|---|---|---|
| Training + power | ANT+/Bluetooth stability, data fields, workouts | Button-first mid to high tier | Navigation may feel “basic” |
| Navigation on new routes | Offline maps, rerouting, good search | Larger color screen | Higher price, more battery demand |
| Long rides / bikepacking | Battery modes, USB charging support | Endurance-focused models | Heavier, slower UI sometimes |
| Commuting | Fast start, simple screens, alerts | Compact computers | Limited mapping features |
| Budget upgrade | Core GPS + sensor pairing basics | Entry models | Small screen, fewer integrations |
Key features that separate “fine” from genuinely great
Here’s where the best bike computer wireless gps experience usually comes from, not from marketing labels, but from a few features that reduce friction week after week.
1) Sensor pairing that doesn’t randomly drop
If you run a power meter or heart rate strap, intermittent dropouts ruin intervals and make training data questionable. In many cases, reliability is more important than one extra metric on a spec list.
- Prefer computers that support both ANT+ and Bluetooth.
- Check for multiple sensor slots, especially if you swap bikes or wheels.
- If you use indoor training, confirm smart trainer compatibility and workout control.
2) Readability in real light
“Color screen” sounds great until glare hits at noon. If you ride in bright sun, pay attention to screen brightness, contrast, and font scaling, not just size.
- Look for customizable data pages with big-number layouts.
- Glove-friendly controls matter on cold-weather rides.
3) Navigation you actually trust
Some riders need full maps and rerouting, others just want a reliable line to follow. Be honest about your routes, if you mostly ride familiar roads, heavy navigation features may be overkill.
- Offline maps help when cell service drops.
- Rerouting quality varies a lot by brand and model.
- Turn prompts should be timely and readable, not buried in tiny text.
Self-check: which type of rider are you?
If you want a quick answer without overthinking, this checklist usually lands people in the right category.
- I follow new routes weekly → prioritize mapping, rerouting, and larger screen.
- I do intervals or train with power → prioritize sensor stability, workout support, and flexible data pages.
- I ride 6+ hours often → prioritize battery, low-power modes, and charging options.
- I commute and want simple tracking → prioritize fast startup, clean UI, and phone notifications only if you truly want them.
- I hate fiddling with apps → prioritize straightforward setup and consistent auto-sync.
One more honest point, if you already use a platform heavily (Garmin Connect, Wahoo, Hammerhead, etc.), sticking with that ecosystem often reduces headaches, even when a competing device looks “better” on paper.
How to pick the best option for your budget (practical steps)
This is the part most people skip, then regret. Use these steps to narrow choices before you compare models one by one.
Step 1: List your “must-connect” gear
Write down the sensors and apps you already use: heart rate strap, power meter brand, smart trainer, radar light, electronic shifting, Strava, TrainingPeaks. Then confirm protocol support (ANT+/Bluetooth) and any brand-specific features.
Step 2: Decide if you need full maps
If you ride solo in new areas, full offline maps and strong rerouting are worth paying for. If you mostly ride known routes, breadcrumb navigation can be enough, and you may prefer a smaller, simpler head unit.
Step 3: Battery expectations, be slightly pessimistic
Battery claims are often under ideal settings. If you plan to use bright backlight, multi-band GPS, radar, and frequent navigation prompts, assume you’ll get less. For ultra rides, consider a model that allows charging while recording.
Step 4: Put usability above “extra metrics”
Data fields are great until the interface gets in the way. The best bike computer wireless gps choice is often the one you can operate while tired, in wind, with gloves, without looking down for too long.
Common mistakes (that cost money and patience)
These are patterns that show up a lot, especially when someone buys based on one feature they saw on a chart.
- Overbuying mapping when you rarely navigate, then living with a bigger device and higher cost for no payoff.
- Ignoring mount and cockpit fit, especially on aero bars or integrated handlebars.
- Assuming all sensors “just work”; protocol support is not identical to reliable pairing across firmware updates.
- Chasing maximum GPS accuracy while riding in areas where any device will struggle, like dense downtown corridors or heavy tree cover.
- Not testing at home; pairing sensors and setting data pages the night before saves a lot of on-ride frustration.
For safety, keep screen interaction minimal while riding. If you need to change pages or reroute often, consider stopping briefly or using audio prompts through an earbud setup that still allows awareness, local laws and personal risk tolerance vary, so use judgment and consider professional advice if you have concerns.
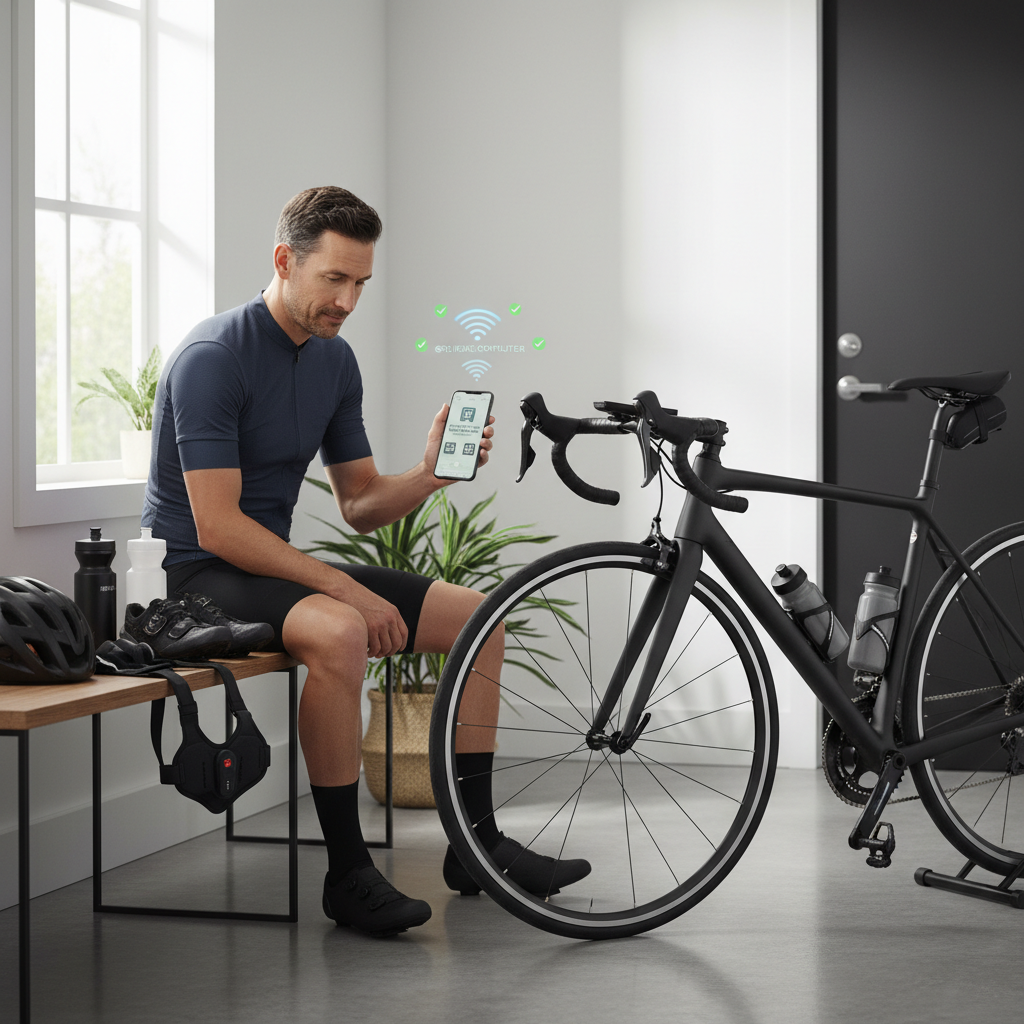
Practical setup tips for a smoother first week
Most computers feel “bad” in week one because the defaults rarely match your riding. A short setup pass fixes that.
- Build 2–3 data pages: one for climbing (grade, VAM or elevation gain), one for intervals (lap power, lap time), one simple page for easy rides.
- Set auto-pause carefully: commuters may want it on, group riders often prefer it off to avoid weird pauses in slow rolling sections.
- Pair sensors one at a time: then take a 10-minute test ride to confirm stability before adding more accessories.
- Turn off noisy alerts: too many beeps trains you to ignore the important ones.
- Confirm uploads: run one “dummy activity” to make sure your rides land in the right apps.
When it’s worth getting expert help
If you’re mixing advanced gear, like dual-sided power, electronic shifting integration, smart trainer control, and radar, and you keep seeing dropouts or mismatched numbers, a good local bike shop or brand support can save time. It’s also reasonable to ask for help if you’re training for an event and need your workout setup to be consistent across indoor and outdoor rides.
Conclusion: the “best” choice is the one you’ll use every ride
The best bike computer wireless gps pick usually comes down to three things, stable connections to the gear you own, a screen you can read quickly, and navigation that matches your routes. Once those are right, extra features feel like a bonus instead of a distraction.
If you want a simple next step, make a short list of your must-have sensors and apps, then choose the smallest set of features that solves your real ride problems, not someone else’s.