
Best bike brake pads for road bike riders usually come down to one boring truth: the “best” pad depends on your brake system, your typical weather, and how much heat you generate on long descents.
If your current pads squeal, feel grabby, or lose bite in the rain, you’re not alone, pads are a wear item and most stock options are chosen for cost, not for your riding conditions. The good news is that pads are one of the cheapest upgrades that can noticeably change control and confidence.
This guide keeps it practical for 2026-era road setups: rim brakes still exist, but disc brakes dominate new bikes, and pad compounds have gotten more specialized. I’ll help you pick a compound that matches how you actually ride, not how marketing says you ride.
Quick take: what makes a brake pad “best” for road
Brake pads sound simple, but they juggle competing goals: power, modulation, noise, rotor or rim wear, and wet performance. You typically gain one thing by giving up another.
- Stopping power: how much force you can generate at the lever for a given speed and load.
- Modulation: how easy it feels to control braking smoothly without locking or skidding.
- Heat management: critical for long descents, heavier riders, and loaded bikes.
- Noise and cleanliness: some compounds squeal less or shed less black dust, but it varies.
- Wear balance: softer pads can protect rotors/rims but may wear faster.
Key point: the best bike brake pads for road bike use are the ones that match your brake type (rim vs disc), then your climate, then your descent/heat profile.
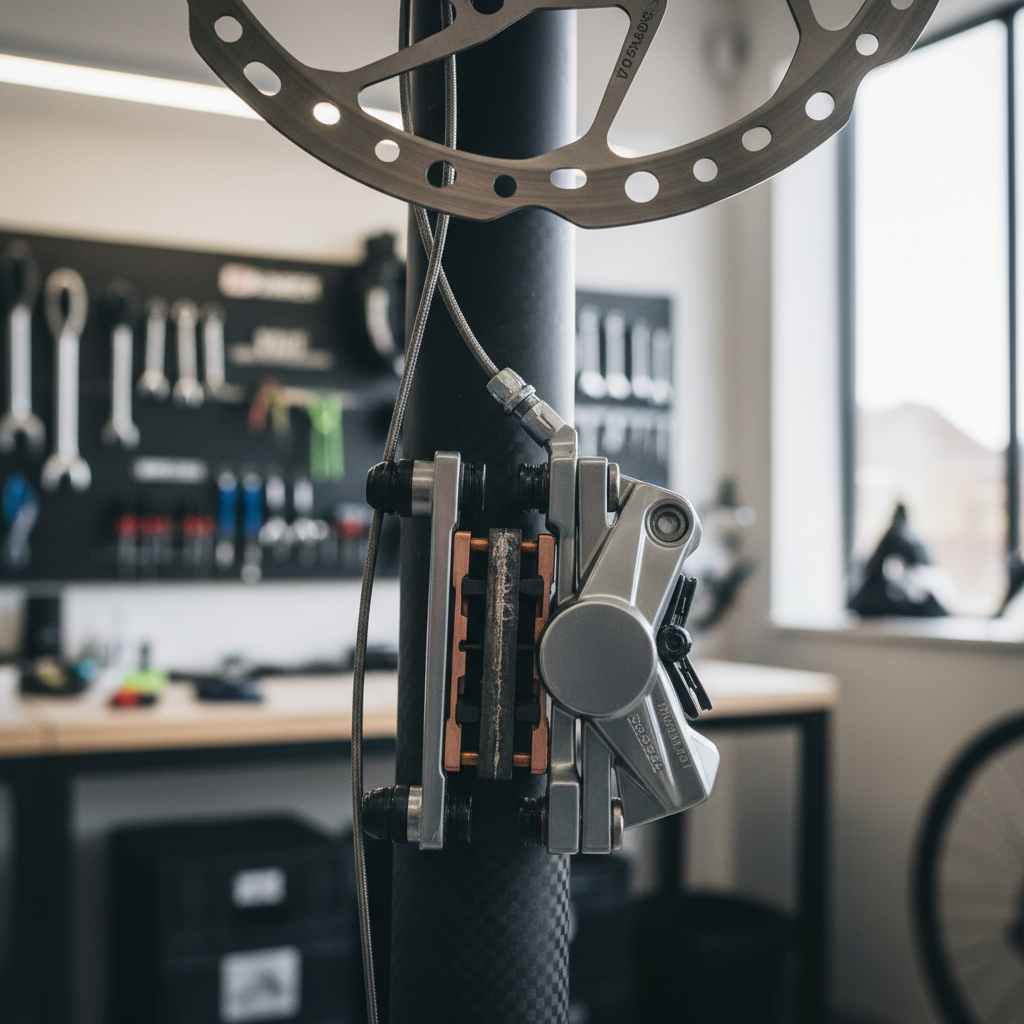
Step 1: identify your brake system (this decides 80% of the choice)
Before looking at brands, confirm the hardware. Road bikes today are mostly disc, but the pad decision tree is different for each.
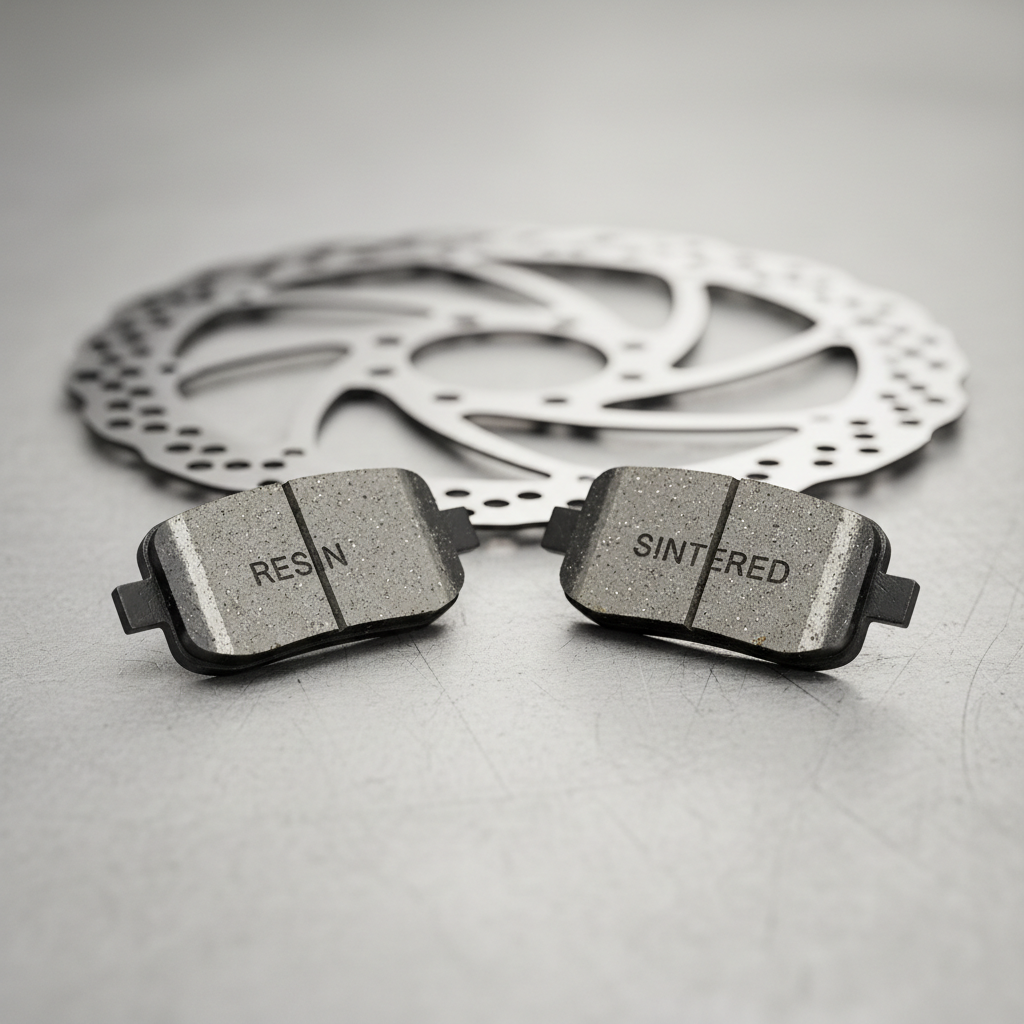
Disc brakes: resin vs sintered vs “semi-metallic”
- Resin (organic): usually quieter with better initial bite, often the easiest “daily driver” choice for dry-to-mixed road riding, but can fade sooner under heavy heat.
- Sintered (metallic): typically handles heat and wet riding better, often lasts longer, but can be noisier and may increase rotor wear depending on rotor material and finish.
- Semi-metallic / hybrid: sits in the middle, many riders choose this when they want more heat capacity than resin without going fully metallic.
Rim brakes: pad compound must match rim material
- Aluminum rims: standard road rim pads, many are “all-weather” blends.
- Carbon rims: use pads designed for carbon braking tracks, using the wrong pad can reduce braking and can damage the rim over time.
According to Shimano service guidance, using compatible pads and following proper bedding-in procedures helps maintain braking performance and reduces noise, especially with disc systems.
How to choose pad compound by real riding conditions
Most people shop by “top rated” and end up disappointed because they didn’t shop by conditions. Here’s a more reliable shortcut.
- Mostly dry, flat-to-rolling routes: resin pads are often a comfortable, quiet choice.
- Frequent rain or gritty roads: sintered or semi-metallic often keep bite more consistently.
- Long mountain descents, heavier rider, or fast group rides: lean toward semi-metallic or sintered for heat stability, plus rotors in good condition.
- Noise-sensitive commuter bike: resin plus careful rotor cleaning and alignment usually beats compound-hopping.
- Carbon rim brake bike: prioritize pads made for your rim’s braking surface and brand recommendations.
If you’re trying to decide between two options, pick the one that better matches your wet/heat reality. “Better in the rain” and “better under heat” tends to matter more than tiny differences in lever feel.
2026 buyer’s checklist: confirm fit before you buy
This is where a lot of orders go wrong. “Road disc pads” is not a fit standard, you need the exact pad shape for your caliper.
- Brake brand and model: Shimano, SRAM, Campagnolo, TRP, etc, and the specific caliper series.
- Pad shape code: many brands use shape names or numbers, match what your current pad looks like.
- Rotor type and size: some compounds behave differently on lightweight rotors, and small rotors run hotter.
- Finned vs non-finned pads: cooling fins can help on long descents, but clearance and compatibility matter.
- Rim brake holders: cartridge-style pads require the right insert shape for your holder.
Practical move: pull one pad, take a clear photo next to a ruler, then match it to the manufacturer compatibility chart. That single step saves a lot of “almost fits” frustration.
Recommended pad “types” (not hype): a simple comparison table
Instead of pretending one product wins for everyone, here’s how the main categories typically stack up for road use.
| Pad type | Best for | Trade-offs | Notes |
|---|---|---|---|
| Disc resin (organic) | Dry-to-mixed road, quiet braking | May fade sooner on long descents | Great default choice for many riders |
| Disc semi-metallic | Mixed weather, spirited descending | Can be a bit noisier than resin | Often the safest “one set for everything” pick |
| Disc sintered (metallic) | Wet riding, heat-heavy routes | Potentially more rotor wear, more noise | Strong choice for rain states and mountains |
| Rim brake pad for alloy | Classic road rim brakes | Wet performance varies by compound | Keep rims clean, replace pads before metal shows |
| Rim brake pad for carbon | Carbon rim brake tracks | Heat management can be limiting on long descents | Follow rim maker guidance closely |
When shoppers ask for the best bike brake pads for road bike setups, they often mean “what will feel better tomorrow.” Compound choice helps, but maintenance is what keeps that feel consistent.

Installation and bedding-in: where performance is won or lost
New pads that feel weak often aren’t “bad pads,” they’re unbedded pads or contaminated pads. Bedding-in is the process of transferring an even layer of pad material onto the rotor, it stabilizes friction and reduces noise.
- Clean first: wash hands, avoid touching pad surfaces, clean rotor with isopropyl alcohol (typical shop practice) and a clean lint-free towel.
- Check alignment: a rubbing rotor can glaze pads quickly.
- Bed-in safely: do a series of controlled stops from moderate speed, letting brakes cool slightly between efforts, follow your brake maker’s procedure when available.
- Expect a change: lever feel and power usually improve after bedding-in.
According to SRAM brake manuals, proper bed-in improves consistency and helps prevent glazing and noise, and skipping it can make good pads feel disappointing.
Common mistakes that make any pad feel “bad”
Before you blame the compound, check for these. They’re the usual culprits when riders keep searching for the best bike brake pads for road bike riding and never feel satisfied.
- Contamination: chain lube overspray, oily fingers, aerosol cleaners, even some car-detail products in the garage can ruin braking.
- Worn or warped rotors: pads can’t fix a rotor that pulses, rubs, or sits below minimum thickness.
- Mixed pad compounds without cleaning: switching between metallic and resin without re-bedding and cleaning can cause noise or weak bite.
- Glazing: long dragging brakes can overheat and harden the pad surface, power drops and squeal rises.
- Wrong pad for carbon rims: carbon tracks can overheat, and incompatible pads can make it worse.
If you suspect contamination, many shops will recommend replacing pads rather than trying to “save” them, because safety margins matter and outcomes are inconsistent.
When it’s worth asking a shop (or a brake pro) for help
Brake work is not the place to gamble if you’re unsure. A shop visit makes sense when the bike still won’t stop confidently after new pads and correct bedding-in, or when you see fluid leaks, lever pull changes suddenly, or rotors look discolored from heat.
- Hydraulic disc issues: spongy lever feel can mean air in the system, bleeding requires the right tools and fluids.
- Persistent squeal: could be caliper alignment, rotor surface issues, or contamination that keeps returning.
- Heat concerns: frequent long descents may call for rotor size changes or different rotor spec, not only pads.
According to Park Tool repair guidance, correct diagnosis and setup, especially caliper alignment and proper bleeding on hydraulic brakes, often resolves braking problems more effectively than repeatedly swapping parts.
Conclusion: picking the right pads in 2026 without overthinking it
The best upgrade path is simple: match pads to your brake system, choose a compound based on wet and heat demands, then install cleanly and bed in with care. If you do that, most riders find their “best” pad pretty quickly.
If you want one practical action today, pull your current pad, confirm the exact shape, then decide resin vs semi-metallic vs sintered based on your most common conditions, not your occasional epic ride.
Key takeaways: pick compatibility first, conditions second, and don’t ignore bedding-in, it often matters as much as the pad itself.