
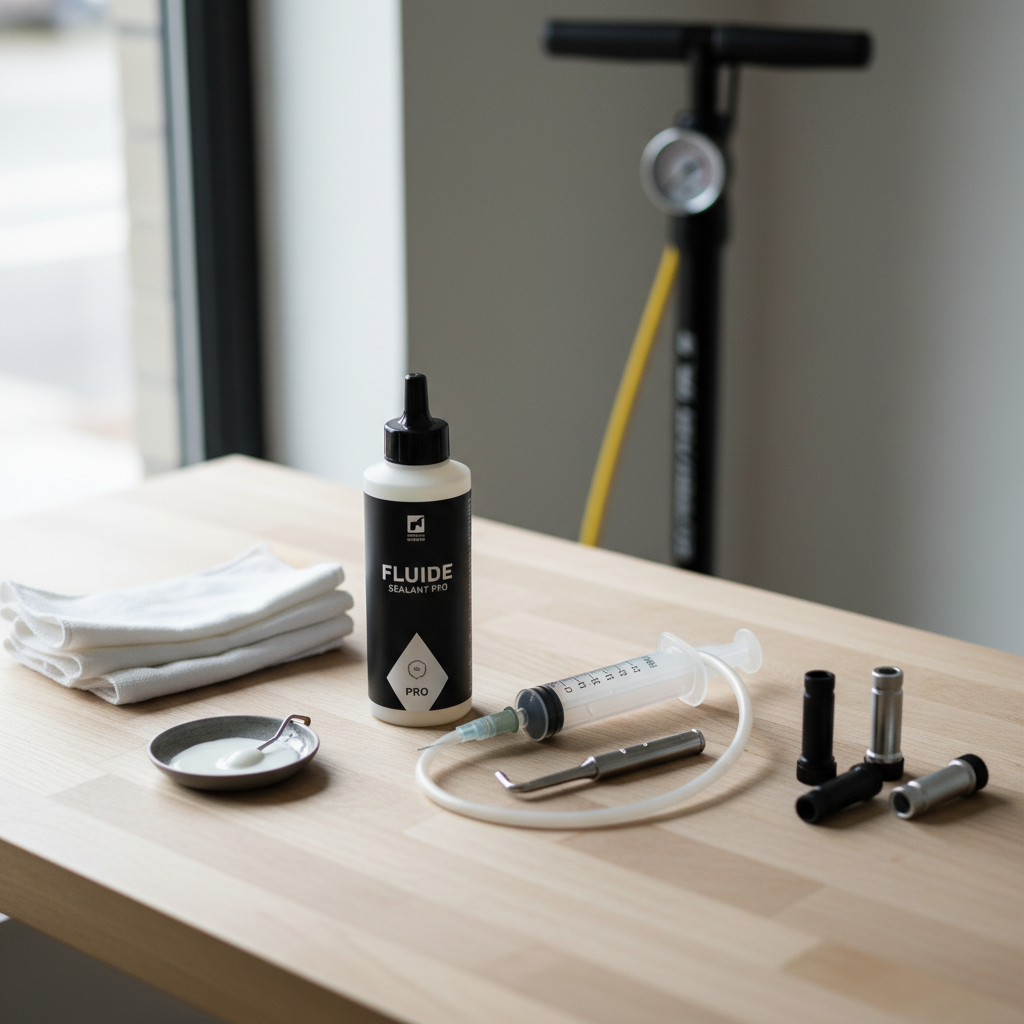
how to use tire sealant in bike tires comes down to two things: getting the sealant into the tire cleanly, and making sure it can actually reach the puncture when you need it.
If you ride in the U.S., chances are you deal with goatheads, glass, construction debris, or just the occasional mystery staple. Sealant can help, but it also creates confusion because “tubeless sealant” and “tube sealant” don’t behave exactly the same, and the install steps change depending on your valve and rim setup.
This guide walks through both tubeless and tube setups, how much sealant to use, the simplest install methods, and the common mistakes that make people think sealant “doesn’t work.”
What tire sealant actually does (and what it won’t do)
Sealant is a liquid with suspended particles that circulates inside the tire. When air escapes through a small hole, the liquid gets pulled toward the leak and begins to plug it, often sealing as the tire rotates.
What it’s good at: tiny punctures from thorns and small bits of wire, and slow leaks around tubeless beads or valve bases.
What it’s not great at: big sidewall cuts, long “snakebite” impacts on inner tubes, and torn casing damage. In those cases you still might need a plug, a boot, or a replacement tire.
According to Park Tool, tubeless systems rely on airtight rim tape, a good bead seat, and sealant working together, if one part is off, you can chase leaks forever.
Quick checklist: are you using tubeless or tubes?
Before you buy anything or pour liquid into a tire, confirm what you’re working with. This prevents the classic mistake of adding tubeless sealant to a setup that can’t hold air properly.
- Tubeless-ready wheel + tubeless tire: likely says “Tubeless Ready” or “TLR” on the rim/tire, and you see a tubeless valve stem with a locknut.
- Tube setup: you have an inner tube, and the tire bead doesn’t need to be airtight against the rim.
- Tube in a tubeless-ready tire: common on new bikes; you can still add sealant, but the method differs.
If you’re unsure, deflate the tire and push the bead aside; seeing an inner tube answers the question fast.
How much sealant to use (simple guide + table)
Too little sealant dries out fast and struggles with multiple punctures. Too much adds rotating weight and can make a mess during seating. Many brands provide charts, but this gets you close enough to start.
| Wheel size | Typical use | Starter amount (tubeless) | Starter amount (tube) |
|---|---|---|---|
| 700c / 29" | Road / gravel | 40–60 mL | 30–50 mL |
| 700c / 29" | MTB | 60–90 mL | 40–60 mL |
| 27.5" | MTB | 60–90 mL | 40–60 mL |
| 26" | MTB / commuting | 50–80 mL | 35–55 mL |
Practical rule: go higher for rough trails, porous sidewalls, and hot/dry climates where sealant tends to dry faster, go lower for smooth pavement and lightweight race tires.
How to add sealant to tubeless bike tires (two reliable methods)
If your goal is fewer flats, this is the setup where sealant usually shines. The main decision is whether you add sealant before seating the bead or through the valve after the tire seats.
Method A: Pour in before fully seating the tire bead
- Mount one bead fully, then mount the second bead most of the way.
- Leave a small unseated section at the bottom, pour in the measured sealant.
- Rotate the wheel so sealant pools away from the open section, then finish seating the bead.
- Inflate quickly (floor pump may work, a booster or compressor can help), then shake and rotate the wheel.
This method avoids dealing with valve cores, but it can be messy if the bead pops off mid-pour.
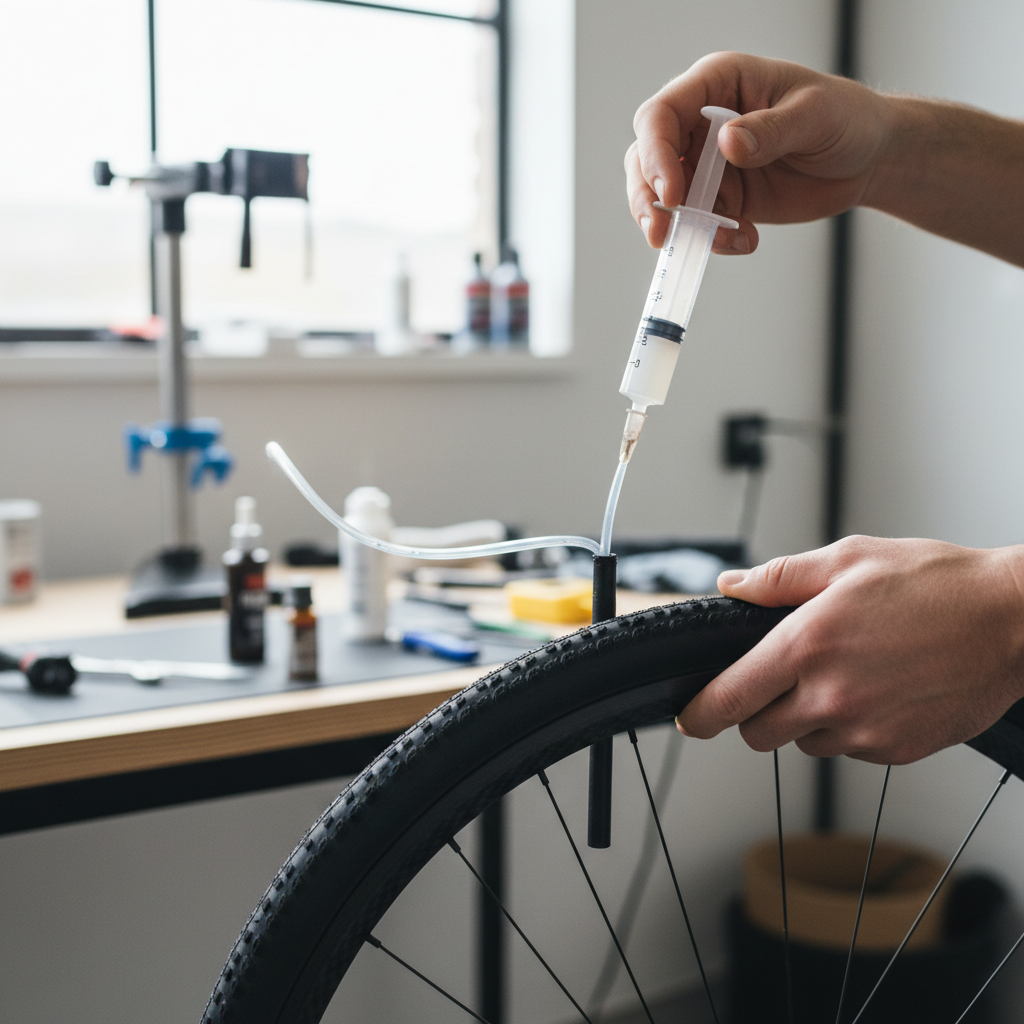
Method B: Inject through the valve (cleaner once the bead seats)
- Seat the tire dry first, inflate until the bead fully snaps into place.
- Deflate, remove the valve core using a core tool.
- Inject sealant with a syringe or injector bottle, reinstall the core.
- Inflate, then spin and “slosh” the wheel to coat the inside.
If you’re learning how to use tire sealant in bike tires without making a sticky floor, injection through the valve is usually the calmer path.
How to use sealant with inner tubes (and when it makes sense)
You can add sealant to standard inner tubes, but expectations should be different. Tube sealant can help with small punctures, yet pinch flats and big cuts still win most of the time.
Also, some “tubeless sealants” work in tubes, but many riders prefer products specifically marketed for tubes because clumping and valve clogging can be less annoying. If you’re mixing and matching, check the sealant label and your tube valve type.
Two common ways to add sealant to a tube
- Valve injection: deflate, remove the valve core if removable, inject the measured amount, reinstall, inflate.
- Partial tire removal: unseat one side of the tire, pull out part of the tube, add sealant, reinstall carefully to avoid pinching.
Heads-up: many Schrader tubes have removable cores, many Presta tubes do not. If your core isn’t removable, the partial removal method is the realistic option.
Make it work: seating, distributing, and first-ride checks
Most “sealant failed” stories come from sealant never reaching the leak, or the system leaking from somewhere else entirely.
- After inflation: rotate the wheel slowly, then shake side-to-side so sealant coats the sidewalls and bead area.
- Listen for hissing: if you hear air escaping at one spot, hold that area down so sealant pools there.
- Check the valve base: a slightly loose locknut or crooked valve can mimic a puncture leak.
- First ride: a short spin often finishes sealing tiny pores and bead seepage.
According to SRAM, tubeless setup success depends heavily on correct rim tape and airtight interfaces, so if you keep getting bubbles around the spoke bed, it’s often tape, not the sealant.
Maintenance: when to top off, how to avoid clogs, and cleanup reality
Sealant does not last forever. It slowly dries into a thin film and sometimes rubbery clumps, especially in warm, dry conditions or when the bike sits.
- Top-off cadence: many riders check every 2–4 months, and more often in summer or desert climates.
- Quick check: pop out the valve core and use a zip tie as a dipstick, or partially unseat a bead if you suspect it’s dry.
- Prevent valve clogs: park with the valve at 4 or 8 o’clock, not at the bottom where sealant pools.
- Cleanup: wipe fresh sealant with a damp rag; dried latex often peels off rims and frames, but it takes patience.
If you’re storing a bike for months, consider refreshing sealant before you return to regular riding, dried-out sealant is basically dead weight.
Common mistakes that waste sealant (and your time)
- Skipping airtight prep: on tubeless, old rim tape, dirty bead seats, or a loose valve will leak no matter how much liquid you add.
- Wrong tire pressure expectations: sealant often needs a bit of pressure to push into a puncture; extremely low pressure can make sealing harder.
- Over-tightening the valve locknut: it can deform the rubber base and create micro-leaks.
- Assuming it seals every hole instantly: many small punctures seal after a wheel rotation or two, not always the moment you hear the hiss.
- Letting sealant dry out: if you never top off, you’re basically riding “dry tubeless” without realizing.
If your main question is how to use tire sealant in bike tires to prevent flats, the unglamorous answer is that prep and maintenance matter as much as the pour.

When to use plugs, patches, or a shop (instead of more sealant)
Sealant is a tool, not a rescue plan for every scenario. If you keep adding more and the tire still loses pressure quickly, it’s time to change tactics.
- Use a tubeless plug: punctures that keep spraying sealant, especially in the tread area, often seal quickly with a plug plus a bit of air.
- Use a boot or patch: sidewall cuts and casing tears may need a boot to get you home, long-term replacement is common.
- Seek shop help: recurring bead leaks, tape failures, or stubborn seating issues can be faster to solve with a compressor and experienced hands.
If you’re unsure about rim compatibility or safe tire pressures, it’s reasonable to ask a local bike shop, especially with carbon rims or high-pressure road setups.
Key takeaways before you start
- Match the method to your setup: tubeless and tubes use similar liquids but different workflows.
- Use a sensible amount: enough to coat, not so much that it sloshes like a water bottle.
- Distribute sealant on purpose: spin, shake, and hold the leak area down to let it seal.
- Top off regularly: dried sealant is the silent reason flats come back.
Conclusion: fewer flats, less drama, if you keep it simple
Once you know your tire type and pick an install method, learning how to use tire sealant in bike tires becomes a repeatable routine, measure, add, inflate, then take a minute to distribute the liquid so it can do its job.
If you want the easiest next step, pick one wheel, do a clean valve-injection install, and set a calendar reminder to check sealant in a couple months, that small habit is where most of the real payoff shows up.