
how to use spin bike shoes correctly comes down to three things most riders skip: getting the fit right, setting cleats in a sensible starting position, and practicing clipping in and out until it feels boring.
If your feet go numb, your knees feel “off,” or you keep fighting the pedals, it’s usually not about fitness, it’s setup. A small cleat shift or a shoe that’s half a size wrong can change how your whole leg tracks.
This guide walks through the real-world basics: what to check before you buy, how to mount and align cleats, how to clip in and out confidently, and quick fixes for common pain points. You’ll also see a simple table to match symptoms to likely causes.
Understand your pedal system before you touch the cleats
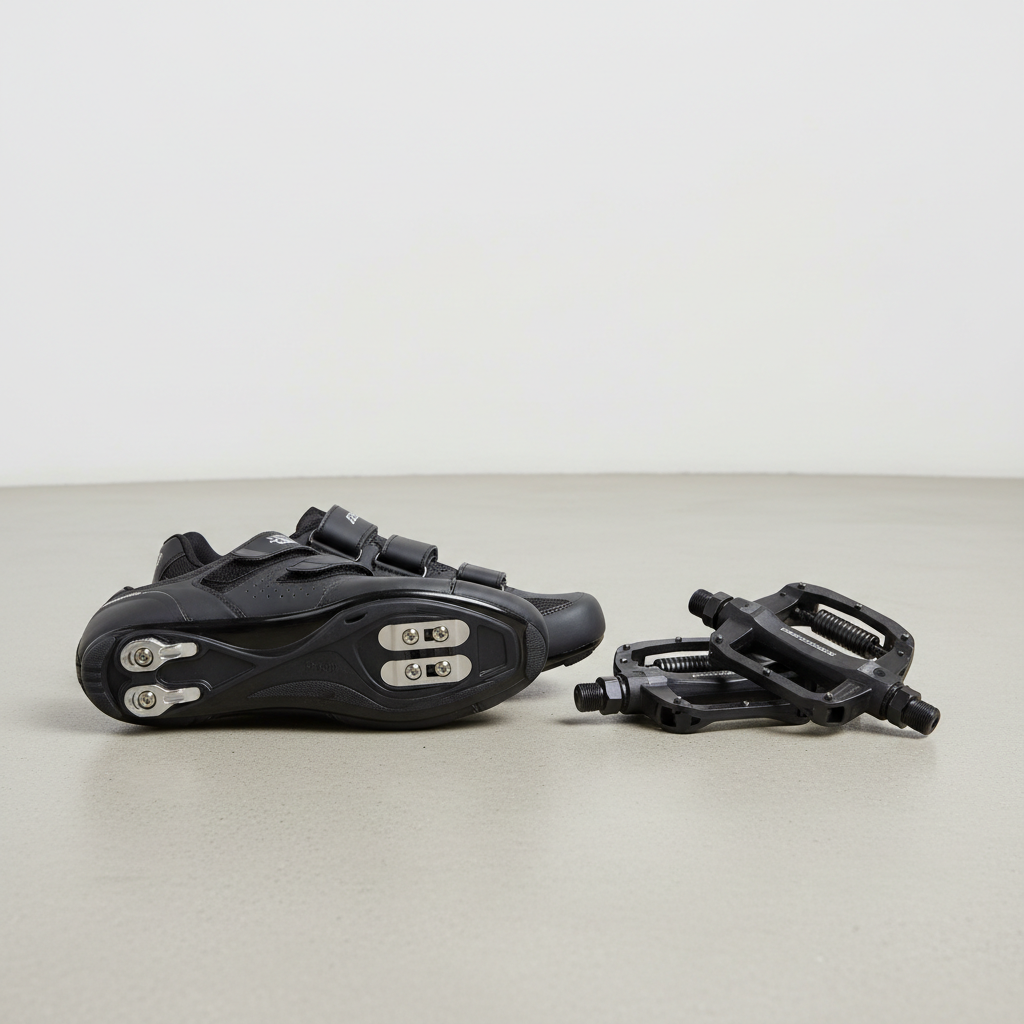
Indoor cycling studios in the U.S. commonly use SPD (two-bolt) pedals, LOOK Delta (three-bolt) pedals, or “dual” pedals that accept both. Your shoe can be compatible with one or more systems, but the cleat must match the pedal.
- SPD (2-bolt): smaller metal cleat, recessed into many shoes, easier walking, common on Peloton-compatible setups and many gyms.
- LOOK Delta (3-bolt): larger plastic cleat, very common in studio bikes and some home bikes, typically not recessed so walking feels awkward.
- SPD-SL (3-bolt): road-style Shimano, less common in spin studios but shows up in home setups.
Before buying anything, check the pedal body for a logo or model name, or ask the front desk. If you’re on a home bike, the manual usually lists pedal type, and it’s worth confirming because “3-bolt” is not automatically “Delta.”
Get the shoe fit right (it matters more than most people think)
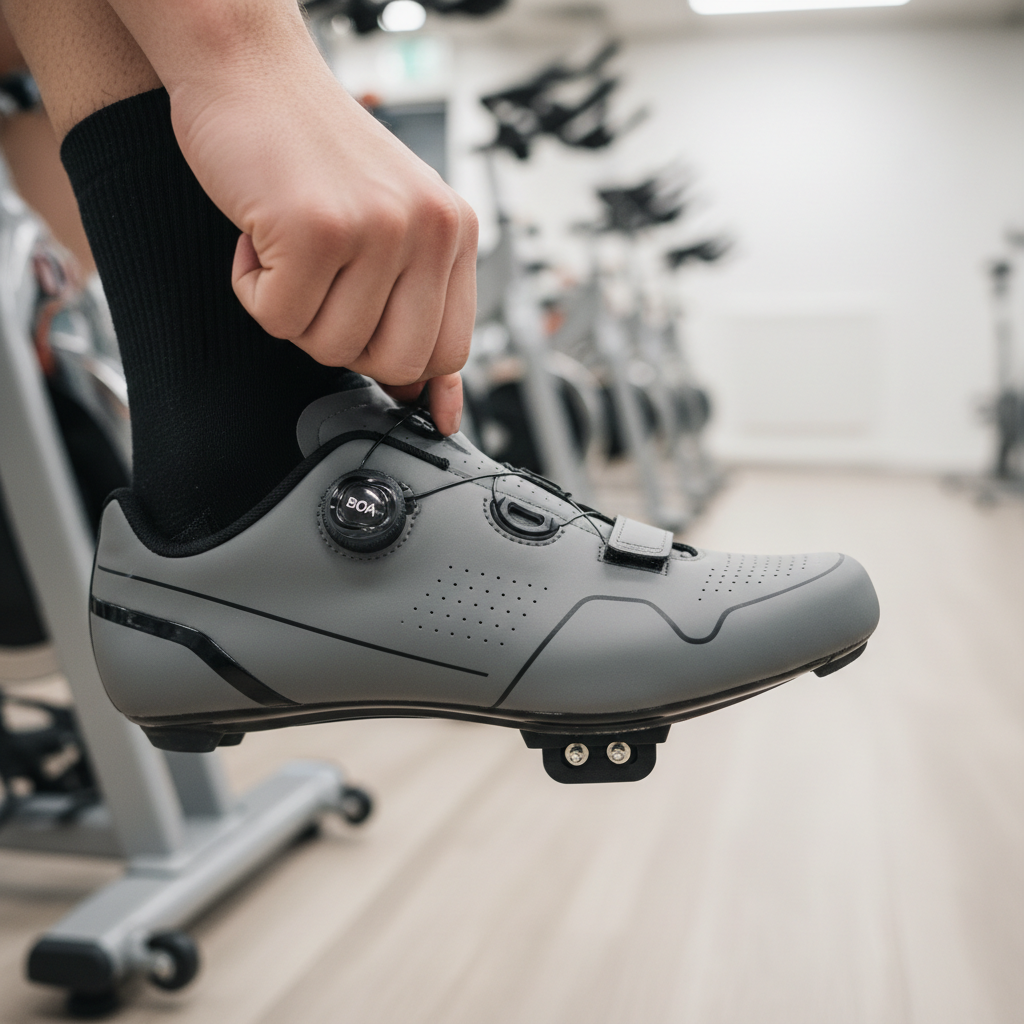
A spin shoe should feel snug without crushing your toes. If you can easily wiggle your heel up and down, you’ll tend to over-tighten straps to compensate, and that often leads to numbness.
- Toe room: you want a little space in front of the longest toe, but not enough that your foot slides forward when you stand up to ride.
- Heel hold: heel should stay planted during hard efforts, especially out of the saddle.
- Midfoot support: pressure should feel spread out, not concentrated on one “hot spot.”
- Socks: test fit with the socks you actually ride in, thickness changes everything.
Many riders use shoes that are slightly too big because they feel comfortable in the store. On the bike, that extra space can create friction, instability, and a “searching” feeling at the bottom of the pedal stroke.
Quick key point: tighten shoes gradually after a few minutes of pedaling. Feet often swell slightly as you warm up, and starting too tight is a common cause of tingling.
How to install and position cleats (a safe starting setup)
Cleat setup is where a lot of “I hate clip-ins” stories begin. You can absolutely dial it in yourself, but start conservative and make small changes.
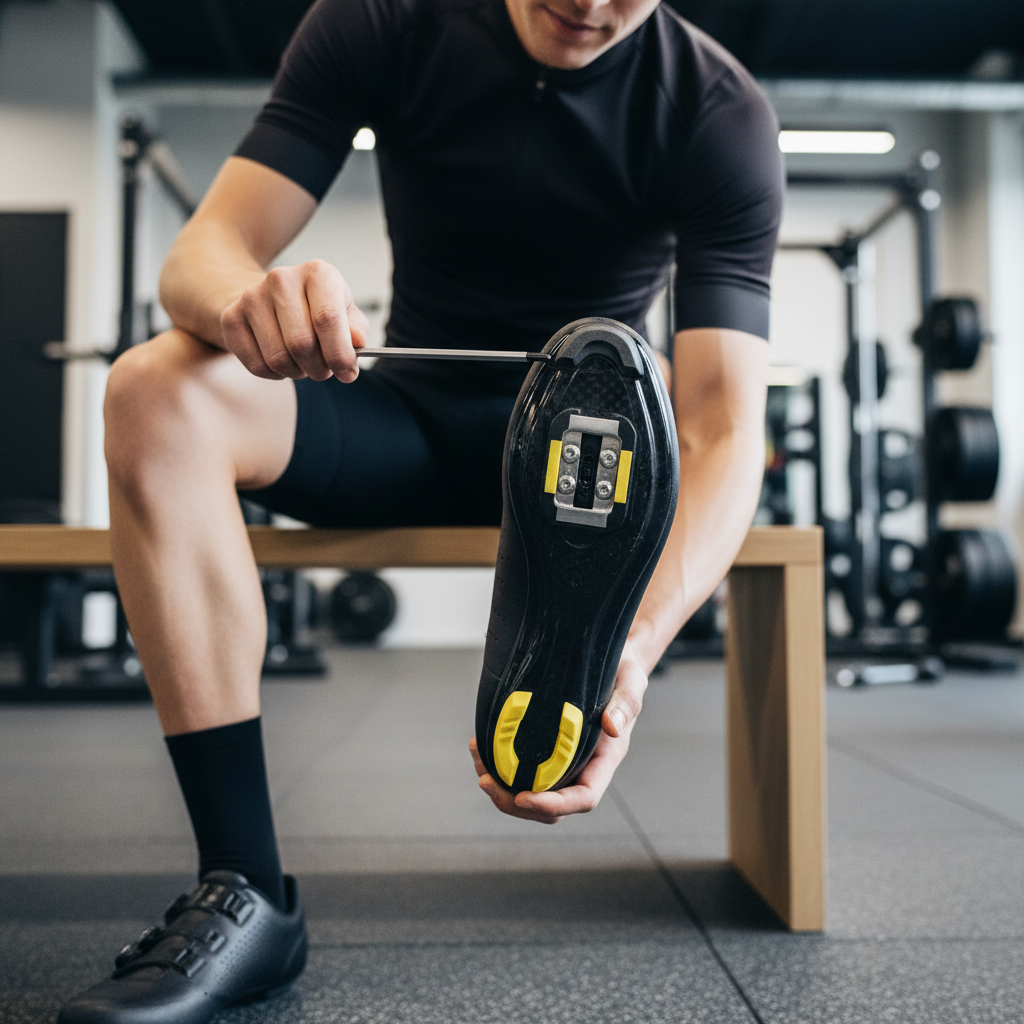
Tools and prep
- Correct cleats for your pedal system
- Allen keys (often 4mm) or the hardware tool included with cleats
- A marker or painter’s tape (for reference marks)
- Optional: a small amount of medium-strength threadlocker if the manufacturer allows it
According to Shimano (SPD) and LOOK (Delta/Keo) manufacturer guidance, cleat bolts should be tightened to the specified torque and re-checked periodically, because vibration can loosen hardware over time. If you don’t have a torque wrench, tighten firmly but avoid stripping threads, and re-check more often.
Starting position: “neutral and centered” beats “aggressive”
- Fore-aft: place the cleat so the ball of your foot sits slightly in front of the pedal axle, many riders do well starting with the ball of the foot roughly over the axle and adjusting from there.
- Side-to-side: center the cleat in the available slots unless you know you need a wider or narrower stance.
- Rotation (toe angle): set cleat so your foot points the way it naturally points when you walk, forcing toes straight can irritate knees.
Mark the outline of the cleat with a marker once you find a decent spot. That way, if a bolt loosens or you swap cleats, you can get back to your baseline fast.
Small-change rule: adjust in tiny steps, about 1–2 mm or a few degrees at a time, then ride 10–20 minutes to evaluate. Big moves make it hard to know what helped.
Clip in and out smoothly (without the panic moment)
Clipping in should feel deliberate, not like you’re stomping. Practice with the bike supported, or in a doorway/wall support setup if you’re at home.
Clipping in
- Rotate the pedal so the entry side faces up.
- Place the front of the cleat into the pedal first, then press down and slightly forward until you hear or feel a click.
- Do one foot at a time, then start pedaling gently.
Clipping out
- Stop pedaling pressure.
- Twist your heel outward (most systems release this way) in a firm, controlled motion.
- Keep your upper body steady, people fall because they yank their whole leg, not because the cleat “won’t release.”
If release feels too hard on SPD pedals, many have a small tension screw. Backing tension off slightly often makes learning easier, but keep enough tension that your foot won’t pop out during a sprint.
Self-check checklist: are your shoes and cleats set up correctly?
If you want a quick reality check before you start chasing micro-adjustments, run through this list.
- No numb toes after 10–15 minutes at moderate effort
- No burning hot spot under the forefoot
- Knees track smoothly without diving inward or flaring outward
- Heel stays stable during hard efforts
- You can unclip quickly without twisting your hips
- Cleat bolts stay tight after a few rides
One more practical check that catches a lot: look at your cleats after a week. If one side shows heavy wear compared to the other, you may be twisting excessively to release or your foot angle might be forced.
Troubleshooting: common problems and what usually fixes them
Most issues come from either shoe fit, cleat alignment, or saddle setup. Shoes and cleats are only part of the system, but they’re often the easiest to correct.
| What you feel | Common causes | Practical first fix |
|---|---|---|
| Numb toes / tingling | Shoes too tight, toe box too narrow, cleat too far forward | Loosen slightly after warm-up; move cleat a touch rearward; try thinner socks |
| Hot spot under forefoot | Loose shoe causing pressure points, stiff spot in insole, cleat position off | Snug midfoot; check insole; micro-adjust cleat fore-aft |
| Inside knee discomfort | Foot forced inward, stance too narrow, saddle too high (sometimes) | Allow natural toe-out; shift cleat slightly; consider checking saddle height |
| Outside knee discomfort | Foot forced outward, stance too wide, saddle too low (sometimes) | Reduce toe-out; re-center cleat; re-check bike fit basics |
| Hard to clip out | Pedal tension high, worn cleats, wrong cleat type | Lower SPD tension; replace cleats if rounded; confirm system match |
Don’t ignore persistent pain: discomfort that ramps up every ride, sharp pain, or swelling is a sign to stop and reassess. Many conditions around the knee and foot have multiple causes, so if symptoms stick around, it’s reasonable to consult a bike fitter, physical therapist, or other qualified professional.
Practical step-by-step: your first week using spin shoes
If you want a simple plan that keeps you out of trouble, this works well for many beginners and returning riders.
- Ride 1: focus on clipping in/out practice at low resistance, stay seated more than usual, stop if you feel numbness.
- Ride 2: re-check cleat bolts before riding, add a few short standing efforts, note any knee tracking issues.
- Ride 3: make only one change if needed, like a small cleat rotation tweak, then ride steady for 20 minutes to evaluate.
- End of week: re-tighten bolts, inspect cleat wear, confirm you still feel stable at higher cadence.
Some riders try to “solve everything” on day one by moving cleats five times. That usually backfires because your body also needs time to adapt to being fixed to the pedal.
Key takeaways (save these)
- Match cleat to pedal system before anything else, wrong compatibility wastes time and can be unsafe.
- Start neutral with cleat position, then adjust in small increments.
- Practice unclipping until it feels automatic, tension settings can help beginners.
- Foot numbness is a signal, it’s often fit or tightness, not “normal spin pain.”
- Re-check bolts after early rides, hardware can loosen as things settle.
Conclusion: make clip-in shoes feel natural, not intimidating
When you learn how to use spin bike shoes correctly, the payoff is simple: a more stable pedal stroke, fewer distractions from foot pain, and confidence when the instructor calls for speed or climbs.
Start with a neutral cleat setup, keep your adjustments small, and give your body a few rides to adapt. If knee or foot pain keeps returning, pause the experiments and get a second set of eyes from a qualified fitter or clinician, it can save weeks of frustration.